Grilled Chicken Nachos Casserole
Grilled chicken nachos casserole with roasted peppers, beans, cheese, and crispy flour tortilla chips, baked to perfection.

Servings
.svg)
Prep Time

Cook Time

Ingredients

Total Time
Ingredients
Tortilla chips:
- 4 flour tortillas
- 2–3 tbsp oil for frying
Refried beans:
- 1 can black beans (approx. 240g drained)
- 1 tbsp oil
- 1 garlic clove, finely chopped
- 1 tsp cumin
- Salt & pepper
Grilled chicken:
- 4 boneless chicken thighs
- 1 tbsp olive oil
- 1 tsp smoked paprika
- ½ tsp garlic powder
- Salt & pepper
Roasted peppers and sauce:
- 3 red bell peppers (or kapia)
- 1 tbsp butter
- 1 tsp cornstarch
- Salt & pepper
Layering:
- 100g canned corn (drained)
- 150g grated cheddar cheese (or more, to taste)
- 1 chili, thinly sliced
- Fresh coriander leaves
Equipment
Instructions
Today, I want to share a recipe that's both comfy and healthy.
It's a grilled chicken nachos casserole that I've been working on for a while. It took me a few strikes, but I can honestly say that it is right where I wanted it to be.
And before we start, let me tell you that this is not your typical nachos platter. No. This one is layered, baked, and perfect for summer.
This being said, let me tell you how I make my grilled chicken nachos casserole.
Instructions
- Roast the Peppers: The first thing we need to do is roast the bell peppers.
- You can use a grill, oven, or open flame for this task. Roast them until the skins are blackened.
- Regardless of the method, transfer the roasted peppers to a pot and sprinkle with salt.
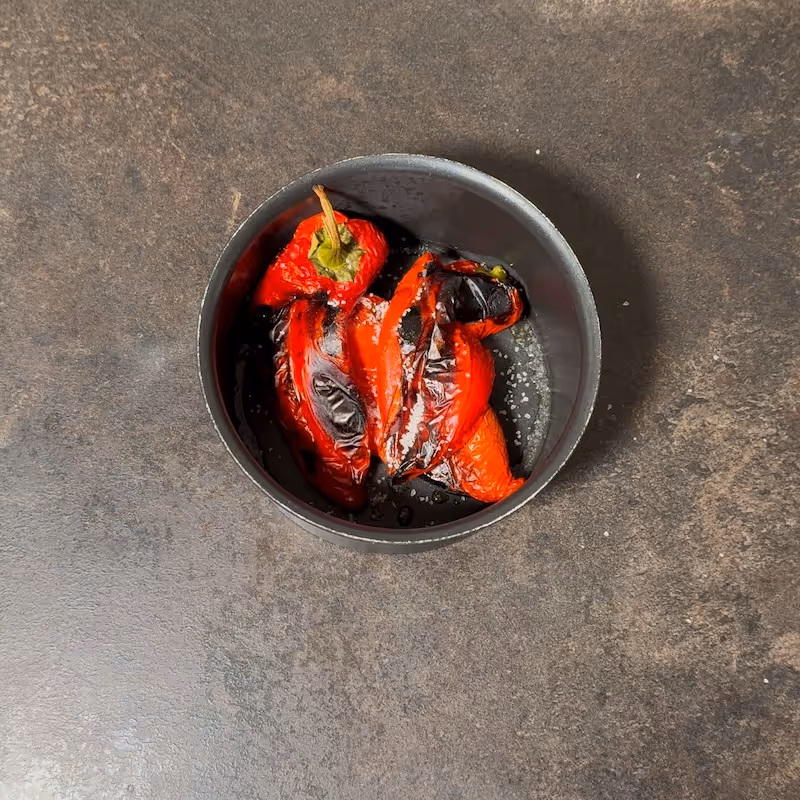
- Cover with a lid to steam the peppers. Leave them covered for 10 minutes or so. This will help you to peel the peppers easily.
- Peel off the skins, remove seeds, dice the flesh, and let them drain in a sieve.
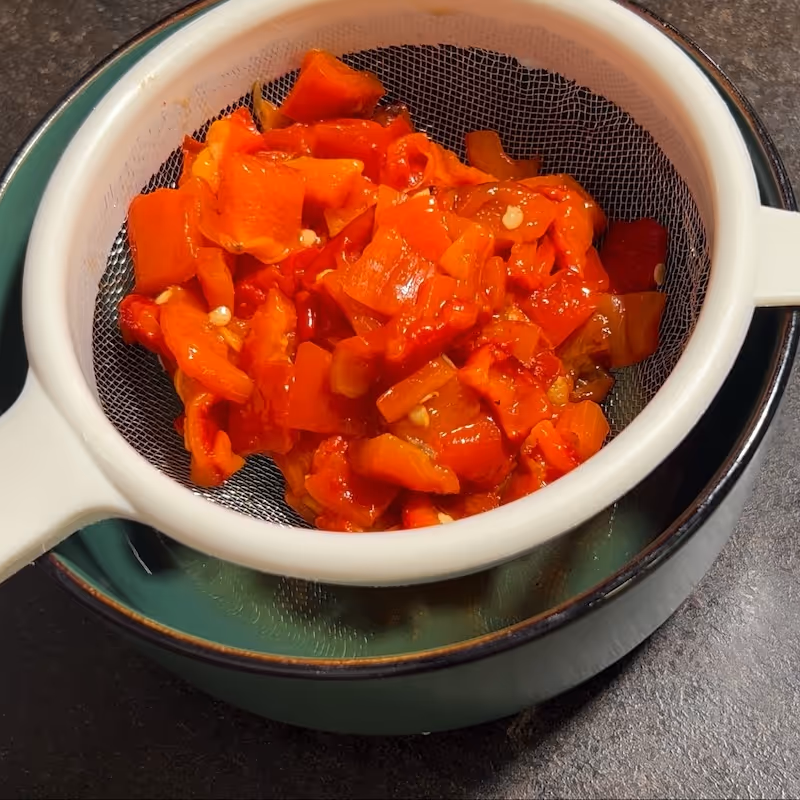
- Keep the liquid for later.
- Marinate the Chicken: Cut the chicken thighs into bite-sized pieces.
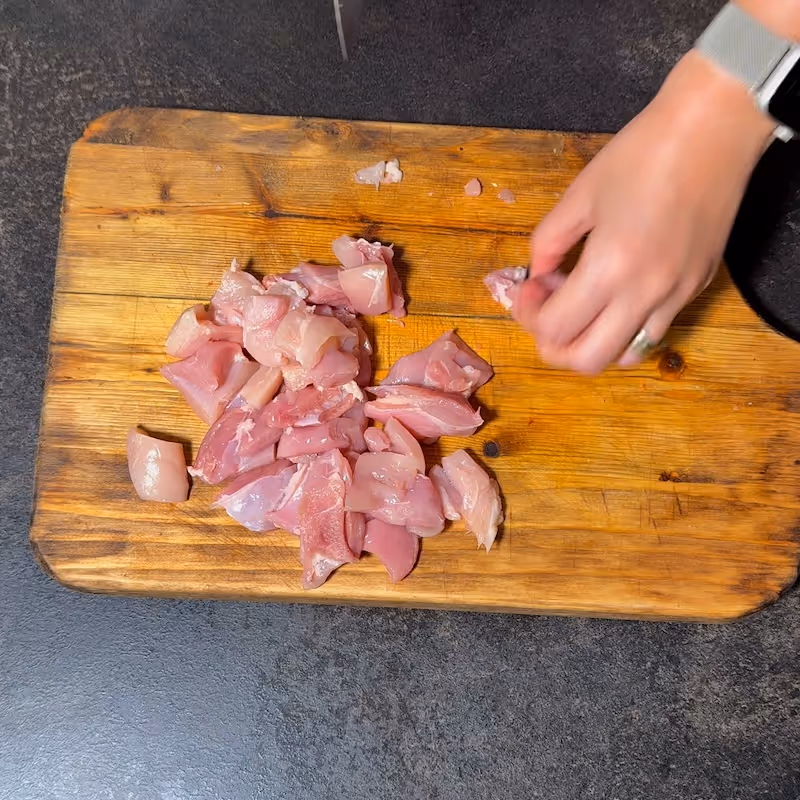
- Season with olive oil, smoked paprika, garlic powder, salt, and pepper.
- Mix well and let rest while you prep the other ingredients.
- Make the Tortilla Chips: Cut each flour tortilla into 8 triangles: first, cut in half, then each half into quarters, and finally each quarter in half.
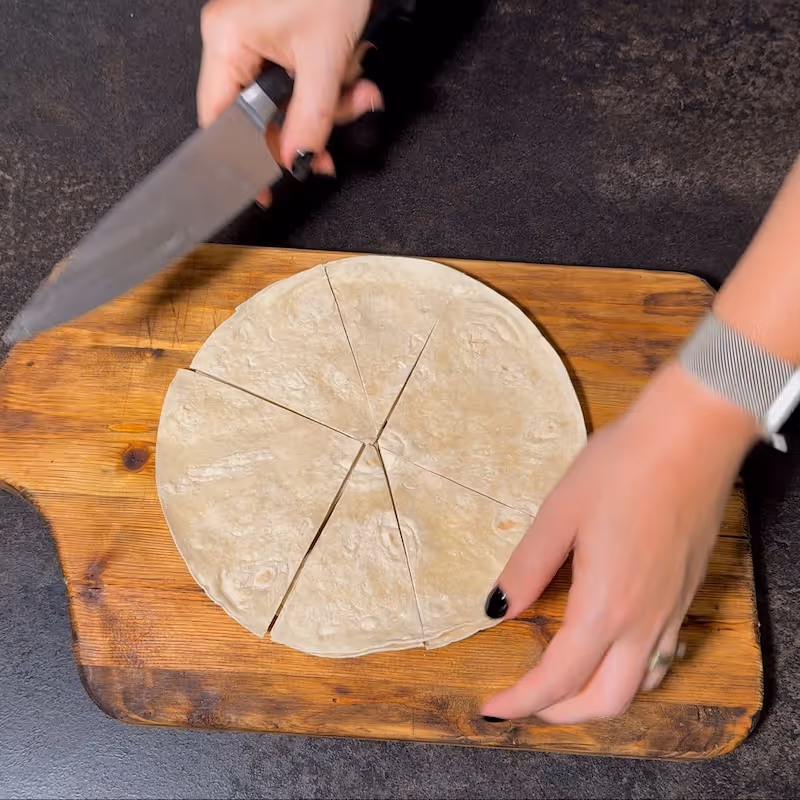
- Fry the tortilla triangles in batches in oil for 30–40 seconds per side over medium heat until golden and crisp.

- Drain on paper towels.
- Cook the Refried Beans: In a pan, sauté the chopped onion and garlic. Then, add the drained black beans, cumin, salt, and pepper.
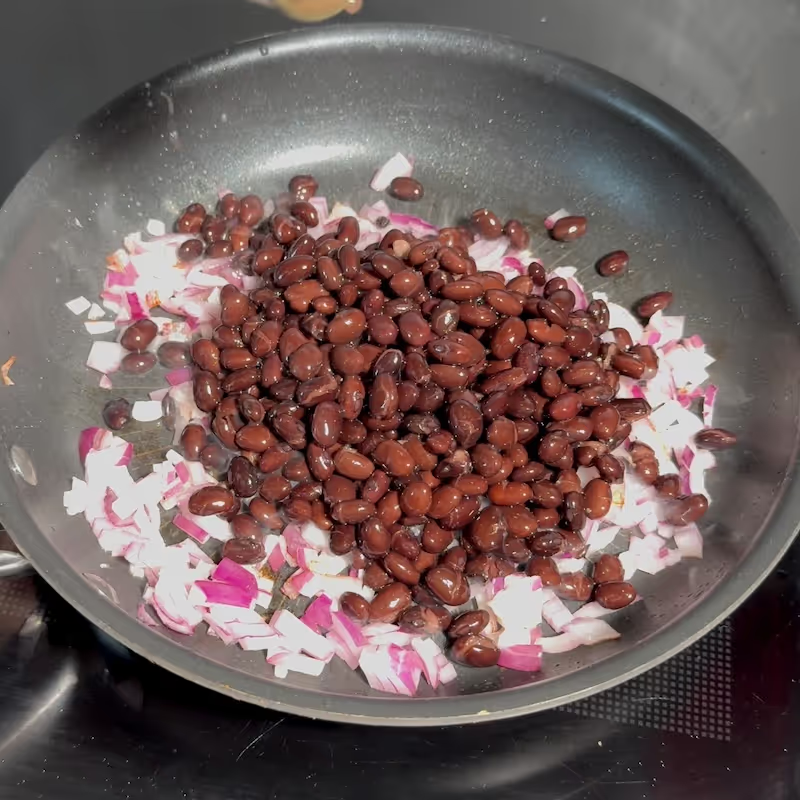
- Combine and cook everything for 5–6 minutes, stirring occasionally.
- After that, take you pan off the heat and move to the next part of the recipe.
- Make the Roasted Pepper Sauce: In a small saucepan, melt the butter.
- Add the cornstarch and the liquid drained from the peppers. Let it simmer until slightly thickened. It shouldn't take you too long, 30 seconds or so.
- When the sauce starts to bubble and it thickens, stir in the diced peppers. Combine, and then remove from the heat.
- Grill the Chicken: Now, it's time to focus on our protein, which is the chicken we prepared earlier.
- Cook your marinated chicken on a grill over medium-high heat for about 5–6 minutes until golden and cooked through.
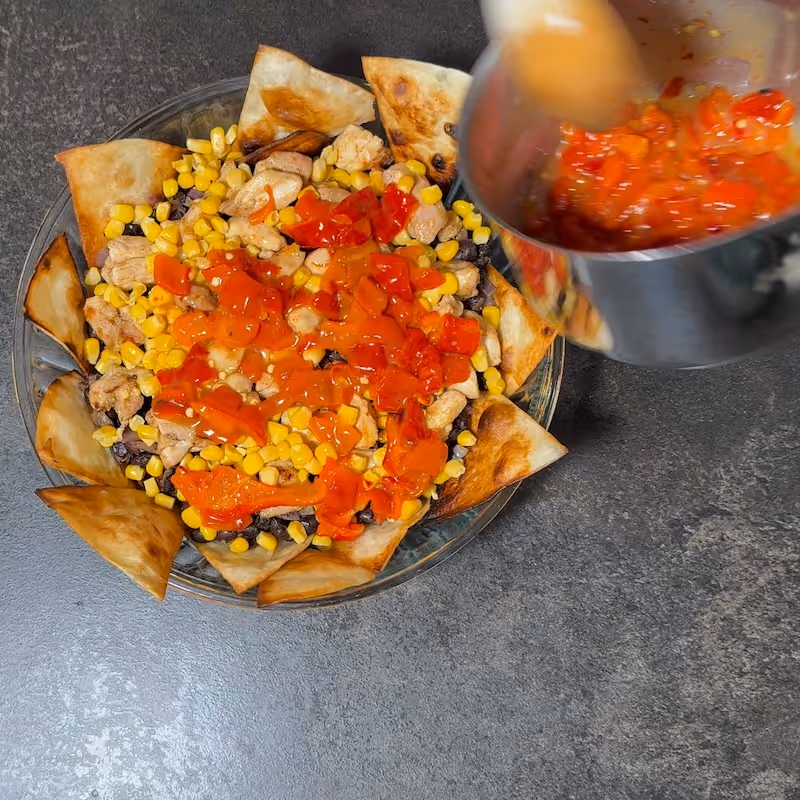
- Assemble the Casserole:
- Take an oven-safe dish and layer your tortilla chips on the bottom and up the sides. Then, in this order, add the following:
- Cooked beans
- Grilled chicken
- Corn
- Roasted pepper sauce
- Grated cheddar.
- Transfer your prepared dish in the preheated oven at 200°C or 400°F. Bake for 8-10 minutes or until the cheese is all melted and bubbling.
- Finish & Serve: Take your grilled chicken nachos casserole out of the oven and top with sliced chili and fresh coriander.
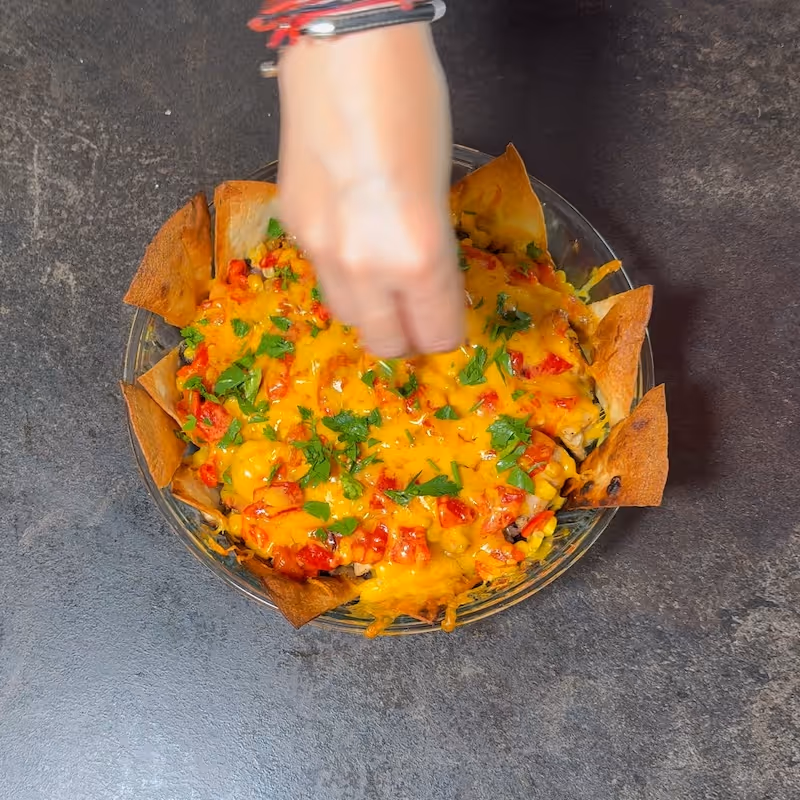
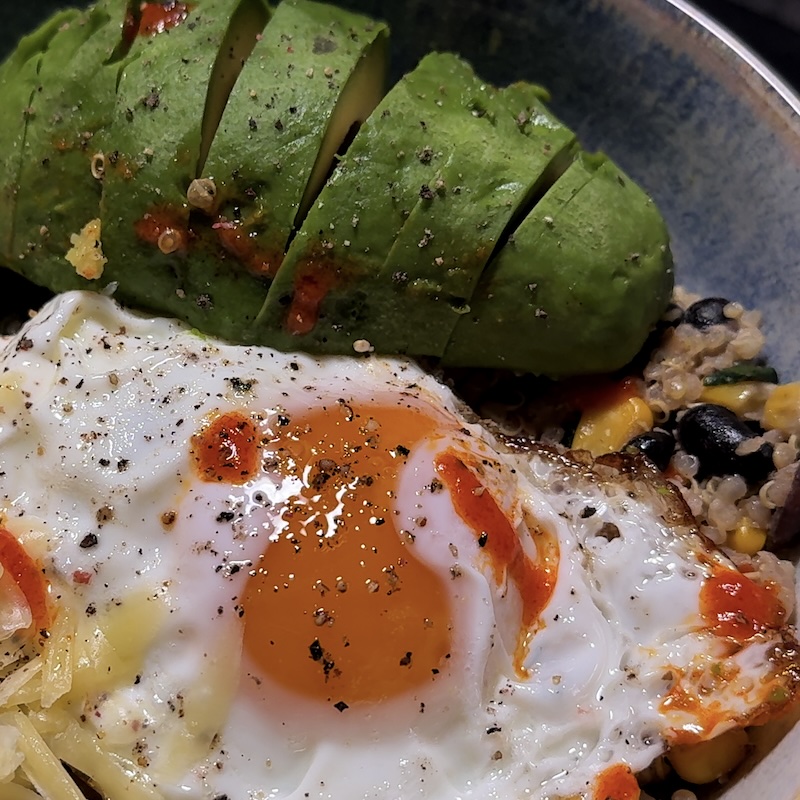
- Serve hot, straight from the dish with some sour cream and avocado paste.
Why This Chicken Nachos Casserole Works So Well
A Balanced Combination of Textures and Flavors
With all said and done, let's look a bit more in-depth at the recipe's components.
First of all what makes this chicken nachos casserole stand out is how effortlessly the ingredients come together. As you can see we literally have crispy, juicy, smoky, and comforting in every bite.
You may wonder why I used flour tortillas instead of packaged nacho chips. The answer is very simple.
I chose it because they give you more control over the texture. You get that golden crunch without the extra salt or preservatives, and they hold up better under the layers of sauce, beans, and cheese.
A Personal Take on a Global Classic
As you could have probably guessed, I was inspired by chicken nachos, which are a street food staple in Mexico and the American Southwest.
But I didn't want to replicate the classic one-to-one. Instead, I built a dish that's oven-baked, hearty, and layered like a casserole.
It's a version that transforms a snack into a meal—something more structured but still true to the spirit of the original.
You could say it's a simple chicken nachos recipe reimagined for a home-cooked dinner.
FAQ
Want to know more about making chicken nachos at home? Well, then check out the next section.
Q: Are chicken nachos healthy?
A: They can be! Use grilled chicken, bake your chips, and go easy on the cheese. You'll get a balanced meal with protein, fiber, and healthy fats.
Q: How to make chicken nachos in the oven?
A: Build layers in a baking dish: chips, beans, chicken, cheese, and toppings. Bake until the cheese is bubbly as discribed in the recipe.
Q: What to put on chicken nachos?
A: Try beans, grilled chicken, roasted peppers, corn, shredded cheese, jalapeños, and fresh herbs. Sour cream or guacamole on the side also works great!
Q: What to serve with chicken nachos?
A: Serve them with a simple green salad, lime wedges, or even a quick salsa. Cold beer or a citrusy lemonade pairs perfectly, too!
Conclusion
I hope you'll give this chicken nachos casserole a try—it's fun to make, satisfying to eat, and absolutely worth sharing.
When you do, don't forget to tag us so we can see your version and celebrate along with you.
Furthermore, the full video of this recipe is available on our YouTube channel, so make sure to check it out.
And if you liked it, give us a thumbs up and hit that subscribe button for more delicious recipes.
Until next time—stay nerdy and keep cooking.